(708) 775-3648

The Flooring Installation Process in Mokena IL: What to Expect From the Measure to the Final Walkthrough
Matt Pehr
August 18, 2026
Request An Estimate
A floor is the largest single surface in a house, and nearly every decision that determines how it turns out is invisible by the time a crew carries material through the front door. The outcome is mostly set already: at the measure, in the written scope, in the way the product was ordered, and in a subfloor that either got looked at properly or did not.
So this is that process, in order, for any material: carpet, hardwood, engineered wood, luxury vinyl, laminate, tile, or three of them in one house. It is written for the homeowner in Mokena who wants to know what happens at each stage and what to ask for. It is the sequence, not a sales page and not a timeline.
Planning a floor this year? Call (708) 775-3648 and we will start where every job starts, with a measure.

The Seven Stages of a Flooring Installation
Every residential flooring project moves through the same seven stages, whatever the material. The stages homeowners picture are five and seven. The stages that decide whether the finished floor is right are one, three, and six.
- 1. The measure. Dimensions, existing floor, subfloor, height at doors and appliances, seam and transition planning.
- 2. Material selection. Choosing the product for the conditions it will live in, not only for showroom lighting.
- 3. The written scope. Quantities, prep allowance, trim, who moves what, exclusions, and how changes are handled.
- 4. Ordering, delivery, and acclimation. Lead time, dye lot consistency, and matching the material to the climate of the house.
- 5. Protecting the house and opening the floor. Containment, furniture, and getting down to the subfloor.
- 6. The subfloor check. Moisture, flatness, and structure. This is where change orders come from.
- 7. Installation, trim, and the walkthrough. Layout, transitions, finish carpentry, and the punch list.
Stage 1: The Measure, and What Those Numbers Actually Mean
A measure is not a square footage count. The number on the proposal is a working plan for how the material will be cut, and it encodes several decisions at once. How square the rooms actually are, because very few houses are. Which direction the plank or the pattern runs, because that changes the yield. Where carpet seams have to fall, because roll goods come in fixed widths and seams belong out of the main sight line.
That is why the ordered quantity is always higher than the room area. A straight lay usually carries a waste allowance of roughly five to ten percent for cuts, culls, and the offcuts that start each row. Diagonal layouts, herringbone, and patterned carpet run higher. Ordering exactly the floor area is not thrift, it is a short order mid job, when your run may no longer be available.
Three other things get recorded that homeowners rarely ask about. What is already on the floor and how many layers it is. What the subfloor is: plywood, oriented strand board, or a slab. And finished floor height, measured at every doorway, appliance opening, stair nosing, and register. A floor that gains a half inch can trap a dishwasher under a countertop, and that is far cheaper to catch on paper than on day two.
Stage 2: Choosing Material in the Room Where It Has to Live
Selection is the stage people enjoy and the stage that generates the most regret, because samples get judged in the wrong conditions. Showroom lighting is bright, even, and neutral. Your hallway at four in the afternoon in January is none of those. Take samples home and look at them in the actual room, in morning light and in evening light. A gray that reads warm in a showroom can read violet in a north facing room.
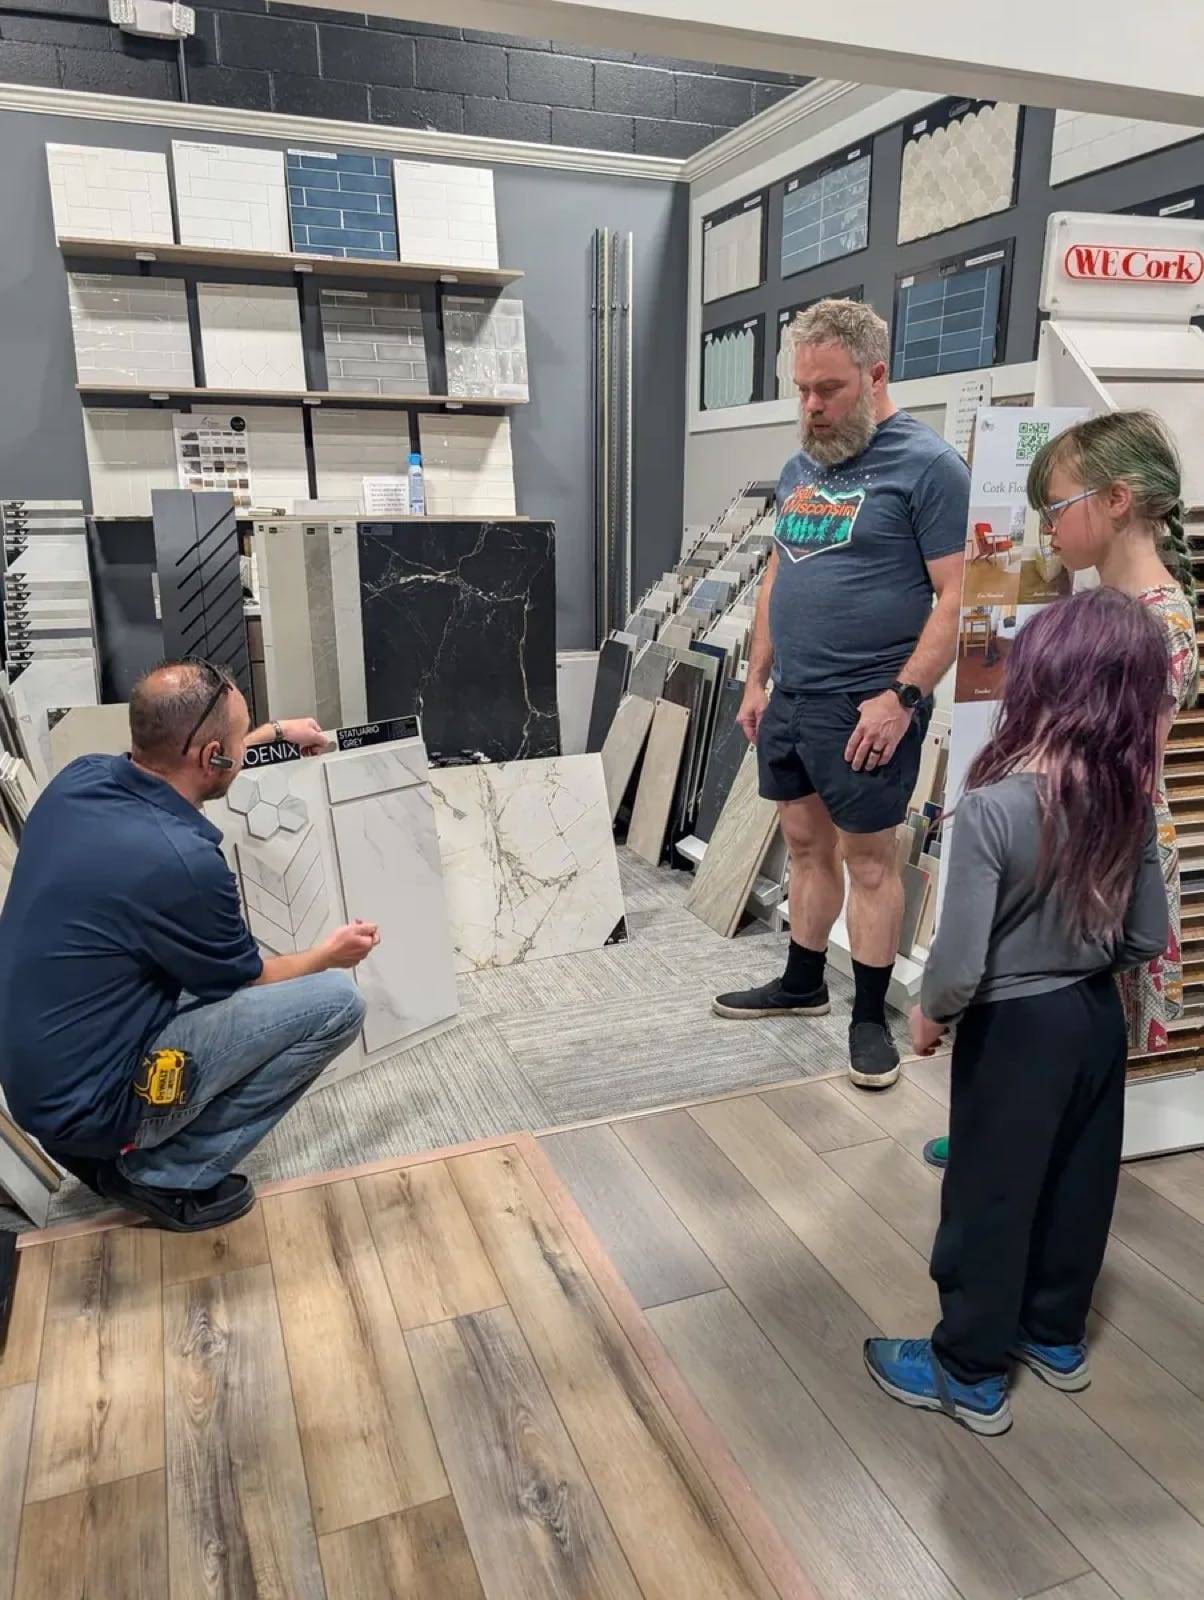
The second half of selection is matching the product to the conditions, and one house is several different environments. A finished basement on a slab has moisture behavior a second floor bedroom does not. A mudroom off the garage takes road salt all winter. A kitchen takes dropped pans and standing water. It is normal for a good plan to use two or three materials in one house, with the transitions planned deliberately rather than discovered later.
Practical filters worth applying before you fall in love with a sample: how the surface handles pet claws and grit, whether the wear layer suits the traffic in that room, whether the product can go over the subfloor you have, whether it can be refinished or only replaced, and how easily one damaged board can be swapped later. Samples come to you at the measure, and full displays are at our Mokena showroom, where a short list usually gets settled.
Stage 3: What a Written Scope Should Spell Out Before You Sign
The written proposal is the contract for how the job will run, and the arguments that happen during an installation are almost always about something the scope left vague. Read it as a checklist, not as a price. A complete scope answers all of the following without you having to ask.
- The exact product. Manufacturer, collection, color, and the quantity ordered, not just a category and a price per square foot.
- Room by room square footage, so you can check it against the rooms you meant to include.
- Subfloor preparation. What is included, what is priced as an allowance, and what would be a change order. Vague prep language is the most common source of a surprise invoice.
- Removal and disposal of the existing floor, stated explicitly as included or excluded, and for which rooms.
- Who moves what. Furniture, appliances, anything that has to be disconnected, and what the homeowner is expected to clear.
- Transitions, thresholds, and trim. Which pieces, and whether existing baseboard is reused, replaced, or topped with shoe molding.
- Stairs, closets, and thresholds to unfinished spaces, the areas most often assumed in and priced out.
- How changes are handled. Written approval before additional work proceeds, with the price stated first.
Warranty coverage varies by product and by manufacturer, and your proposal will identify what applies. Read that section before installation rather than after a problem, because most manufacturer warranties are conditional on the floor having been installed and maintained to that manufacturer’s published instructions. The instructions are part of the warranty, not a suggestion attached to it.
Stage 4: Ordering, Delivery, and Acclimation in a Chicago Area Climate
Once the scope is signed the material is ordered, and the calendar is usually set by the product rather than by the crew. One back ordered item can hold a whole job, so a hard date belongs in the conversation at the measure, while the product list can still be built around what is available.
When the material arrives it gets checked before anything is opened: correct product, correct color, correct quantity, and consistent run or dye lot across the whole order. Manufactured flooring is produced in batches, and two batches of the same color can differ enough to be visible across a long sight line. Boxes get checked for shipping damage too, because a crushed corner found at delivery is a replacement and one found mid install is a delay.
Then comes acclimation, which northern Illinois makes more important than a mild climate does. Indoor humidity swings hard here: forced air heat can pull a house well below thirty percent relative humidity in January, and a humid July pushes it far above that. Wood moves with it. National Wood Flooring Association guidelines direct that the building be enclosed, climate controlled, and at normal living conditions, commonly cited as roughly thirty to fifty percent relative humidity and sixty to eighty degrees Fahrenheit, before wood flooring is delivered, and maintained during and after installation. Delivering solid wood into an unheated house in February and installing it three days later is how you get a floor that gaps every winter.
Acclimation is not one rule for everything. Solid wood generally needs real time in the space, many engineered products need much less, and a few instruct that they should not be acclimated at all. Rigid core luxury vinyl usually needs only to reach room temperature. The answer is always in that product’s installation instructions, which is why a crew that reads them for each job beats a crew that applies one habit to everything.
Stage 5: Protecting the House and Opening Up the Floor
Install day starts with the parts of the house that are not getting a new floor. The path from the door to the work area gets protected, doorways to rooms out of scope get closed off, and vents get covered so the return does not carry dust through the ductwork into the rest of the house.
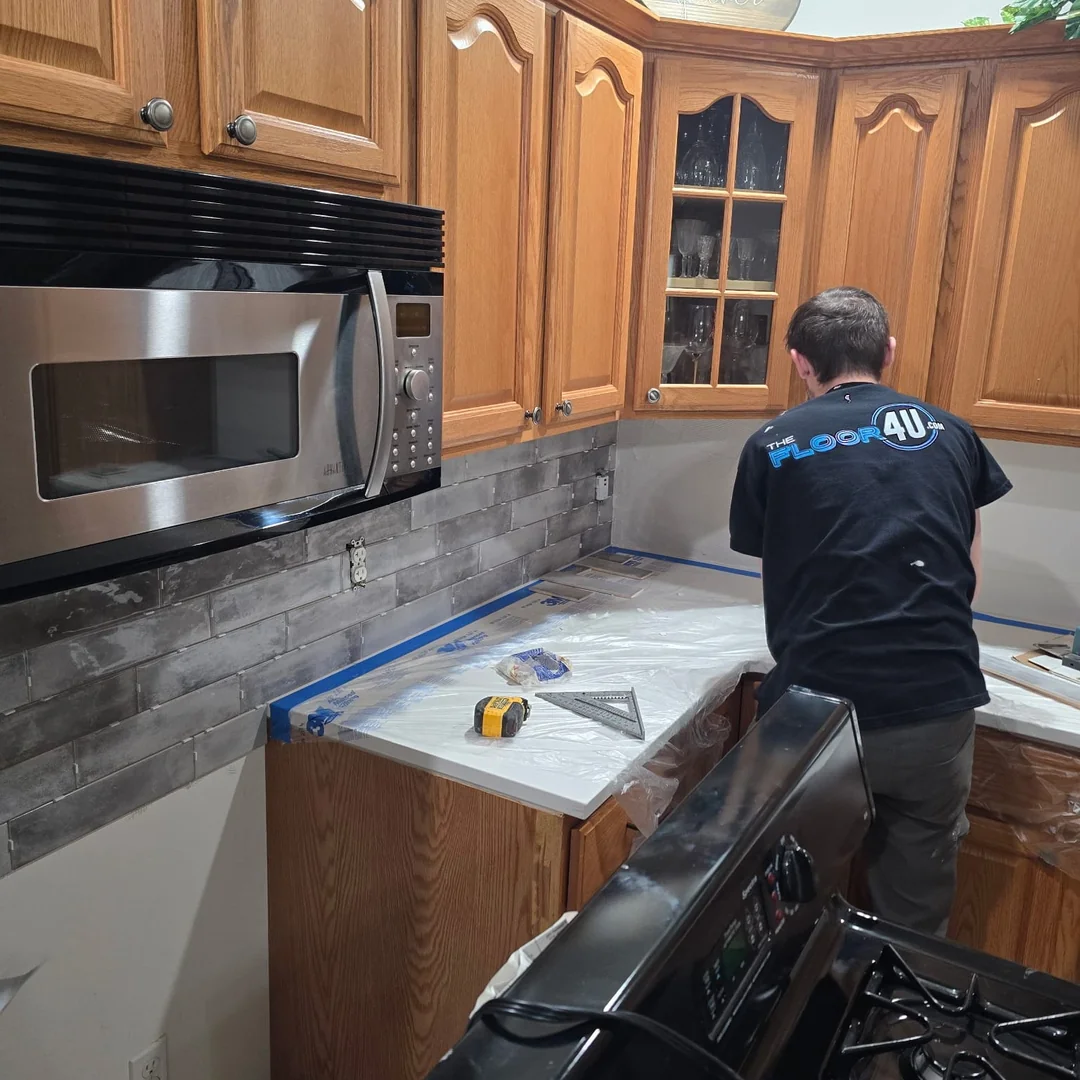
Furniture moves next, according to whatever the scope said, and then the old floor comes up. What matters for the process is what that exposes, because the moment the last of the old floor is off is the moment the job stops being predictable.
One thing worth settling before demolition in an older home: resilient sheet flooring, floor tile, and the black adhesive under them were made with asbestos for decades, and material of that era should be tested rather than assumed. The Floor 4U does not test for, handle, encapsulate, abate, or remove asbestos. That work is a licensed specialty and belongs to an abatement contractor. If your house is old enough for it to be a live question, settle it before the schedule is set.
Stage 6: The Subfloor Check That Decides Everything After It
With the old floor gone, the subfloor gets inspected properly for the first time. This is the highest leverage half hour of the entire project. Nearly every flooring failure that shows up months later, cupping, adhesive release, cracked grout, hollow sounding planks, traces back to something visible right now and skipped.
Moisture, on a slab and over a crawl space
Concrete is the usual suspect, and it does not have to look wet to be wet. ASTM F710, the standard practice for preparing concrete floors to receive resilient flooring, calls for the slab to be tested rather than eyeballed. Two methods are standard: ASTM F2170 uses relative humidity probes set into holes drilled in the slab, and ASTM F1869 uses an anhydrous calcium chloride kit measuring vapor emission over a set period. Manufacturers publish their own ceilings, and for many resilient products the in slab relative humidity limit falls in the seventy five to eighty five percent range. Over a crawl space, the question is the ground vapor retarder and the ventilation below.
That matters in Mokena, because so much finished square footage here sits on a slab: basements, garage conversions, and slab on grade additions. A slab that has been dry under vinyl composition tile for thirty years can still read high once you cover it with something less permeable.
Flatness, and why it is measured across ten feet
Flat and level are different problems, and flooring cares about flat. The common published tolerance is near three sixteenths of an inch across ten feet, or an eighth of an inch across six feet, with individual manufacturers stating their own. It is checked with a long straightedge, not by eye, because a dip that is invisible standing up is very visible in a floating floor that separates over it, or in a tile job where lippage shows on every edge. Low spots get filled, and high spots get ground down.
Structure, fasteners, and movement
The last check is whether the floor structure is sound and stiff enough for what is going on it. Soft spots, delaminated sheathing, water damage around dishwashers and toilets, and squeaks get addressed now, while the subfloor is open and the repair is cheap. Tile is the strictest thing you can install, because it does not bend: the industry standard deflection limit for ceramic tile is L divided by 360, and natural stone is twice as demanding at L divided by 720. Floors that fall short need reinforcement, an uncoupling membrane, or a different material. For the price side, see what subfloor prep and floor leveling cost.
Stage 7: Installation, Transitions, and Finish Carpentry
The installation itself is the part everyone pictures, and by this stage it is the most predictable part of the job. Three details inside it are what you will notice for years.
Layout, and why the first row is not at the wall you assume
The crew snaps layout lines before anything goes down. On plank, the starting line is set so the run stays parallel to the dominant sight line and the final row is not a two inch sliver. Rooms are rarely square, so the first row is often scribed to the wall rather than butted to it, and end joints are staggered so seams do not stack into a visible stair step. On carpet, seams are planned away from doorways, and stretch in installations are power stretched rather than kicked in, which is what the residential carpet installation standard calls for.
Expansion, doorways, and height changes
Floating floors are not fastened to anything. They expand and contract as a single sheet, so they need a continuous gap at every vertical surface: walls, cabinet toe kicks, pipes, door jambs, and the hearth. That gap gets covered by trim rather than filled with caulk, and long runs or openings between rooms may need an expansion joint even where the floor visually continues. Door jambs and casings are undercut so the flooring slides beneath them. Where two materials meet, the transition is chosen for the actual height difference, and interior doors sometimes have to be trimmed to clear the new floor.
Trim, thresholds, and the last ten percent
Finish carpentry is where a competent job and a careful one separate. Baseboard is reinstalled, replaced, or left in place with shoe molding added to cover the expansion gap. Trim gets fitted to the floor rather than to the drawing, and transitions get fastened, not just set in place. The leftover full boxes should stay with you, labeled, in a conditioned space rather than the garage, because those are your repair pieces and they will never match this well again. How we scope the work itself is covered on our flooring installation service in Mokena.
The Final Walkthrough: What to Check Before You Sign Off
The walkthrough is a real inspection, not a handshake. Do it in daylight if you can, then again with a work light held low so it rakes across the surface. Bring a list.
- Every transition sits flat, is fastened, and does not rock underfoot.
- Trim and shoe molding meet the floor cleanly, with no gaps at the corners.
- Doors open without dragging, and cabinet and appliance doors clear.
- On hard surface, no hollow sounding areas and no boards that flex underfoot.
- On carpet, seams are tight and the carpet is taut at the walls.
- Expansion gaps at the perimeter are covered by trim, not filled with caulk.
- Registers, thresholds, and stair nosings are back in place and secure.
- You have the leftover material, the product and color name in writing, and the manufacturer’s care instructions.
Anything you find goes onto a written punch list with who is fixing it and when. A punch list on a finished job is normal and is not an accusation. What is not normal is a job called complete with an item still open and no note of it anywhere.
The First Two Weeks After a New Floor Goes Down
Furniture goes back with felt pads under every leg. Heavy items and anything on casters want wide protection rather than small pads that concentrate the load into a point. On a floating floor, very heavy fixed items such as tall bookcases can pin the field and stop it moving as a sheet, so ask how yours should be handled before you slide it back. Rugs are the most common early mistake: rubber and latex backed mats can stain or discolor vinyl and some finishes, so use a rug pad rated for the surface you have.
On new tile, grout usually needs a cure period before it is sealed or heavily washed. On wood, keep the house in the humidity range you acclimated it to; gaps that open in a dry January and close again in July are seasonal movement rather than a defect, and a humidifier in winter narrows that swing. Clean with what the manufacturer specifies and nothing else, because steam mops, oil soaps, vinegar, and general purpose sprays damage more residential floors than foot traffic does.
What Changes in an Older Mokena Home
Mokena is not one housing stock, and the process bends to fit which one you are in. Newer subdivisions are usually straightforward: engineered lumber subfloors, square rooms, one existing floor covering to remove. Older homes closer to Front Street are a different job, with plank subfloors, rooms noticeably out of square, and floors covered two or three times over the decades.
Split levels and raised ranches, which this area has a great many of, add short flights of stairs, landings, and multiple thresholds in a small footprint, so transitions and stair treatment carry more of the design than they would in a two story. A slab on grade addition or a finished basement puts part of the project on concrete and part on wood framing, which often means two underlayments for one continuous looking space. None of that is a complication so much as a reason the measure matters. We install throughout the Mokena communities and subdivisions we serve, along with Frankfort, New Lenox, Homer Glen, Tinley Park, Orland Park, Lockport, and Joliet.
Frequently Asked Questions
Reviewed by Matt Pehr, who has walked this process with Mokena homeowners.
What happens first when you install new flooring?
Measuring, and it is not just square footage. The measure records room dimensions, how square the rooms actually are, where seams and transitions have to fall, what the existing floor and subfloor are made of, and how much height the new floor can gain before doors and appliances become a problem. The quantity, the prep allowance, and the schedule are all built on that visit, and nothing is ordered before it happens.
How far ahead should I book a flooring installation in Mokena?
Further ahead than most people expect, because the calendar is set by the product rather than by the crew. Stock items in a local warehouse arrive quickly. Special order colors, wide plank wood, natural stone, and anything shipping from a mill or a port run longer. If the floor has to be finished before a holiday, a closing, or a move in date, say so at the measure.
Do I have to move my own furniture before the installers arrive?
That depends on what your written scope says, which is exactly why it should say it. Some proposals include moving ordinary furniture and some do not, and almost none include electronics, valuables, aquariums, gun safes, pianos, or anything that has to be disconnected. Beds and dressers usually have to be emptied even when the crew moves the frames. Get the division of labor in writing rather than settling it on install morning.
What is a change order, and why do subfloors cause them?
A change order is a written amendment to the scope and the price after work has started. Subfloors cause most of them, because the subfloor is the one part of the job nobody can fully see until the old floor is off. Water damage under a dishwasher, a soft patch by a toilet flange, or a slab that reads too wet to bond to are all discovered on day one. A good process photographs what it finds, prices the repair in writing, and gets your approval before continuing.
Do I need to be home while the floor is being installed?
Not for the whole job, but you should be reachable, and you should plan to be there for two moments. The first is the start of day one, so you can walk the space with the lead installer and confirm the layout, the direction of the plank or the pattern, and where transitions land. The second is the final walkthrough. Those two conversations catch almost every avoidable disappointment.
What should I look for during the final walkthrough?
Walk each room with the lights on, then again with a light held low and raking across the floor, which is how you see waves, ridges, and lippage that overhead light hides. Check that every transition sits flat and is fastened, that trim meets the floor cleanly, that doors open without dragging, and that expansion gaps are covered rather than filled. Anything you find goes on a written punch list.
How long does a flooring installation take?
HomeGuide’s flooring installation cost guide (checked October 2026) says flooring installation takes 1 to 3 days on average, and that removing old flooring and unexpected repairs may increase the timeline. That is a published national figure, not a schedule promise from The Floor 4U; the in-home measure sets the timeline for your rooms.
Start Where the Process Starts
Every good flooring job begins with somebody standing in your rooms with a tape measure, looking at what is already down, checking the height at the doorways, and asking what each room has to put up with. That visit turns a rough idea into a written scope you can read line by line. Call (708) 775-3648 or book the in-home measure that starts this process.
Share
Recent Posts
October 22, 2026
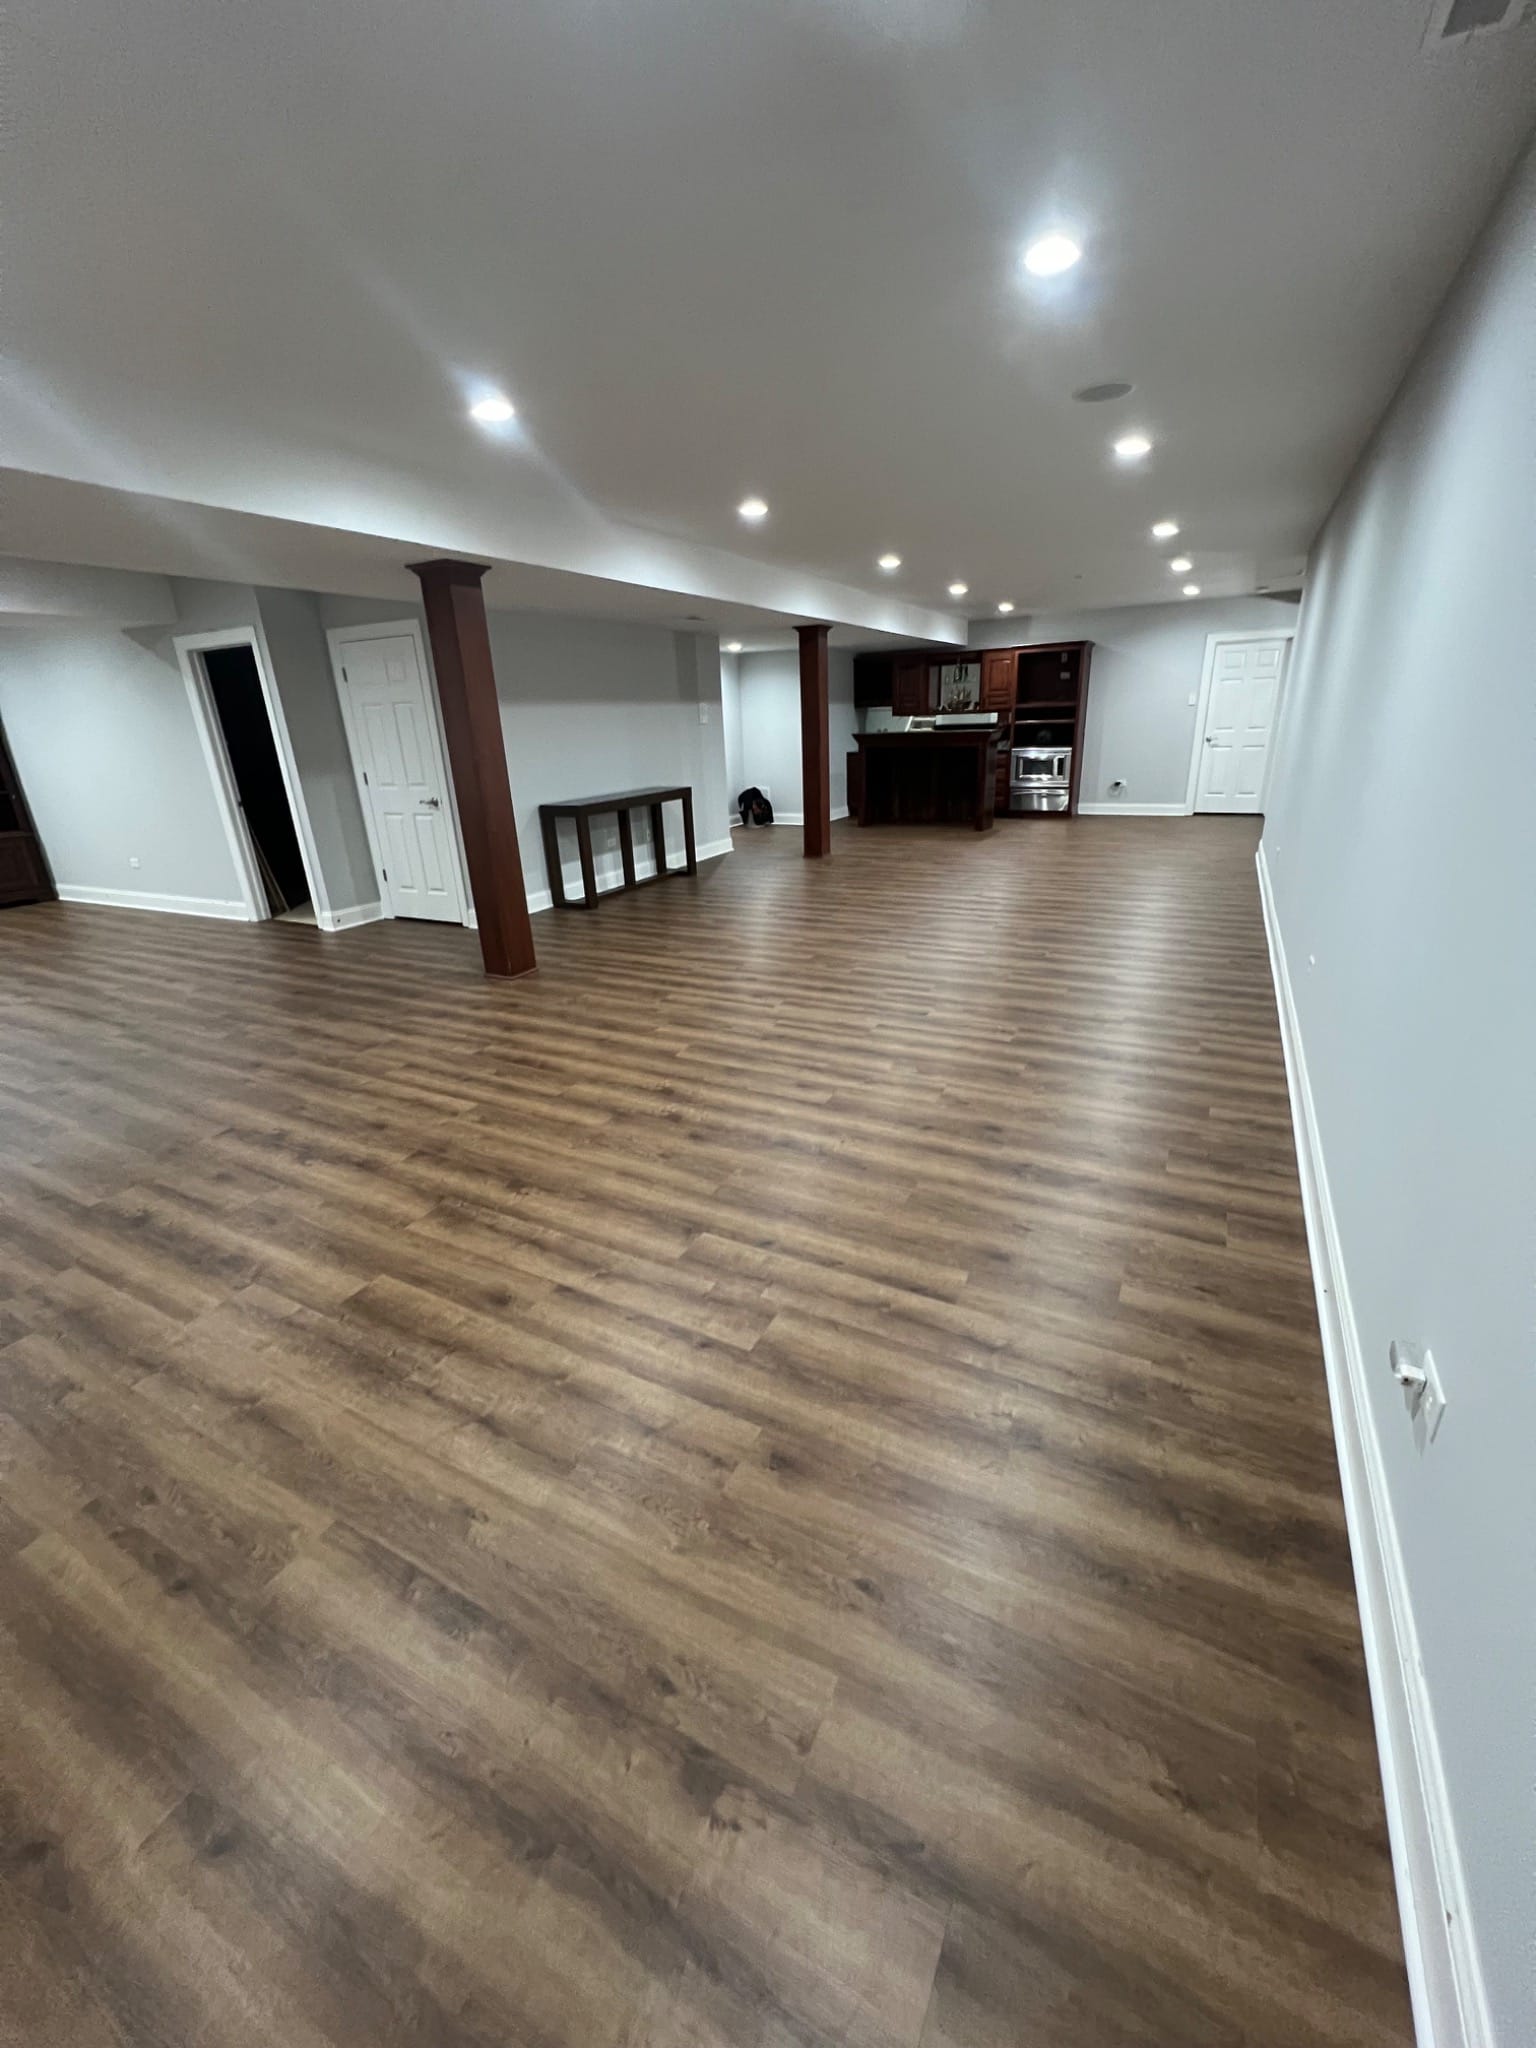
How to Choose Light Vinyl Plank Flooring for a Basement
Compare light vinyl plank samples under basement lighting, then check color, transitions, subfloor conditions, and the selected product’s installation guide....
October 22, 2026
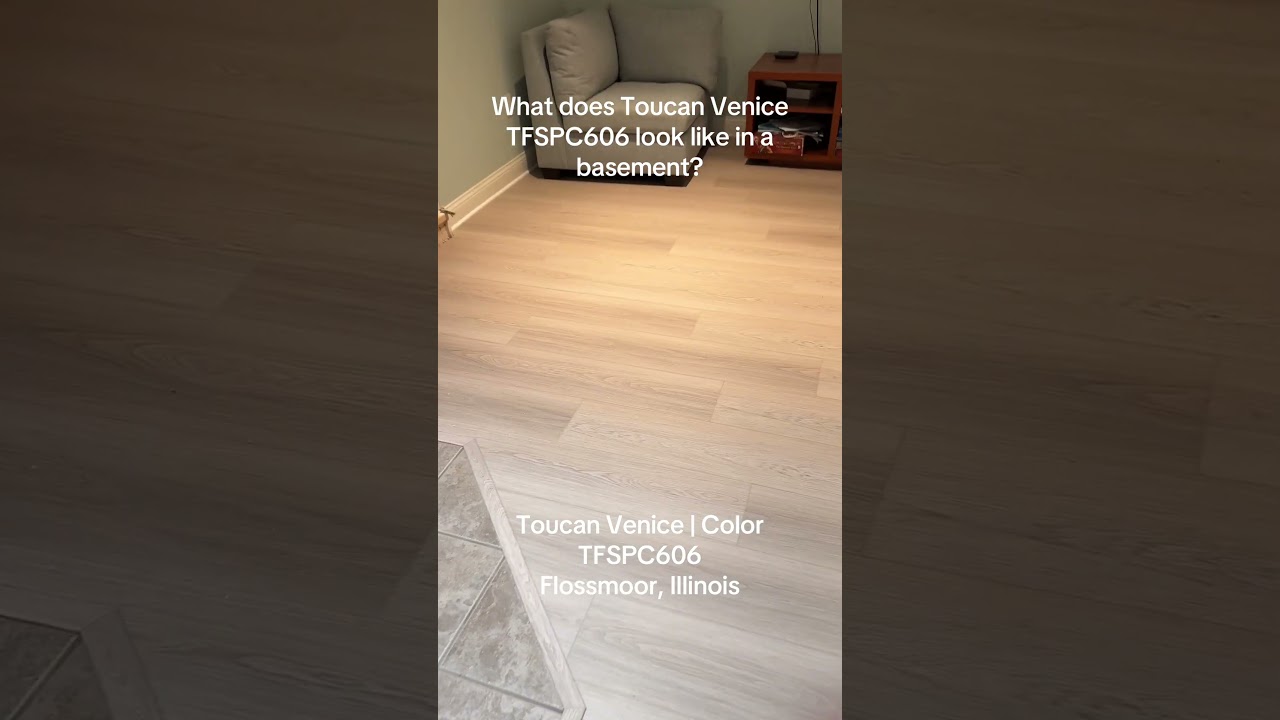
Toucan Venice TFSPC606 Basement Flooring in Flossmoor
Watch a finished Flossmoor basement floor featuring Toucan Venice color TFSPC606, installed by The Floor 4U....

October 22, 2026
Pine-Look Vinyl Plank Flooring: How to Choose the Right Look
Compare pine-look vinyl plank samples, grain variation, room finishes, and installation details using a completed Homewood project as a reference....