(708) 775-3648

Plywood may be added after tile removal when the replacement floor needs an approved, suitable surface or the floor assembly needs to regain height. The correct approach comes from checking the exposed substrate, the new flooring, and the surrounding doors and transitions. Removing tile does not automatically mean every room needs plywood.
In a Homewood, Illinois project, The Floor 4U removed tile and found the door jambs about 3/4 inch above the exposed floor. The video’s description says plywood helped rebuild the height before the new flooring installation. This guide explains that decision for homeowners planning a floor replacement in Homewood, Mokena, and Will County. Matt Pehr is the owner of The Floor 4U.
Watch the Homewood floor-preparation project.
Featured image: AI-generated editorial illustration of finish flooring, a preparation layer, and an existing substrate beside a doorway. This conceptual image does not depict an actual project or an exact manufacturer product.
Why removing tile changes the floor height
The visible tile is only one part of the old floor assembly. Material beneath it may also be removed during demolition. When those layers come out, the exposed surface can sit below the old finished floor.
A thinner replacement floor does not necessarily return the room to its original height. That difference can become visible beneath trim or at the doorway into an adjoining room. It can also affect the relationship between the new floor and a stair or threshold.
Those changes are worth discussing before the new material goes down. The goal is to plan the complete finished assembly. Choosing a plank or tile by its appearance alone leaves important details unresolved.
The Homewood clip makes one of those details visible: the space beneath previously fitted door jambs. It is a practical example of why the exposed floor needs another review after demolition. A finished-project photograph would not explain that preparation step.
What a gap under the door jamb tells you
A door jamb is part of the frame around the door opening. If its bottom was cut or fitted for a higher floor assembly, removing that assembly can leave a visible space. The space shows that the old trim and the exposed floor no longer meet at the same height.
That measurement is a clue for planning, not a plywood specification. The Homewood description reports about 3/4 inch above the exposed floor. It does not identify the thickness of plywood used or establish that a 3/4-inch panel was required.
The new finished floor occupies some height of its own. The installer needs to account for that material, any required layers, and the surrounding surfaces together. Simply filling the visible space with a panel of the same thickness can create a new height problem.
Ask the installer to show you the intended finished floor level at the doorway. That explanation should include the frame, the door’s operating clearance, and the connection to the next room. These details may need different treatments even though they sit in the same opening.
What plywood underlayment can do after tile removal
Plywood can form part of an approved floor assembly over a suitable wood substrate. In some projects, a selected panel layer also contributes to rebuilding height. The panel type and installation method must suit the flooring that will cover it.
Keep the roles of the layers clear. The structural subfloor supports the floor assembly. Underlayment is a separate layer above it when the system calls for one. A damaged structural layer and a surface-preparation issue are different problems.
APA’s explanation of subfloors and underlayment distinguishes these uses. Its guidance is a useful starting point for discussing panel selection. The instructions for the selected flooring and panel products still control the actual assembly.
Do not assume any sheet of plywood is a suitable underlayment. Ask which panel is proposed and why it is appropriate under the chosen finish floor. Also ask whether the work addresses surface condition, finished height, or both.
The Homewood video documents a reason for adding plywood. It does not provide a complete installation specification. The panel grade, fastening pattern, joint treatment, and final flooring are not established by the title or description.
Plan the finished height, not just the plywood thickness
Start with the surfaces that need to work together. These may include the room being replaced, a hallway that stays, door openings, and nearby stairs. Your installer can then compare the planned flooring assembly with those fixed points.
Ask for the layers to be explained in order. What remains after removal? What repairs are needed? Which preparation layers and finish flooring are proposed? This makes it easier to understand why a height change is necessary.
Do not choose the plywood thickness from an internet example. Another home may have a different structural floor, finished product, doorway detail, or transition. The same visible gap can lead to a different approved solution.
Where two finished floors meet, ask to see the transition detail. A planned reducer or threshold may be part of the solution. Raising the whole room solely to avoid any visible transition may create complications elsewhere.
Stairs deserve a separate discussion when a floor-height change affects their top or bottom. Have the contractor evaluate the resulting geometry before the work proceeds. Do not treat the stair edge as an ordinary room-to-room trim joint.
When plywood alone is not the answer
A new layer does not replace the need to inspect the exposed floor. Loose, damaged, or moisture-affected material needs evaluation before it is covered. Ask which existing conditions must be corrected and which findings may change the scope.
Flatness and height are also different issues. A floor can be at a useful elevation and still have high or low areas. Adding a panel is not a promise that every surface irregularity will disappear.
The selected finish floor has its own requirements for the surface beneath it. Your installer should use those requirements to decide what preparation is needed. A plan for sheet vinyl, floating luxury vinyl plank flooring, or a different finish may call for different details.
Concrete needs its own evaluation. Do not read this Homewood example as an instruction to place plywood directly over a concrete slab. The substrate, moisture conditions, and approved assembly must be checked before selecting a method.
For the broader preparation process, read about subfloor repair and floor leveling. That service discussion covers a wider scope than this guide’s specific doorway-height question. The two belong in the same planning conversation.
What the estimate should explain before installation
A floor-replacement estimate should explain what happens after the tile comes out. Some conditions cannot be fully seen before demolition. Ask how the team will document those findings and obtain approval for any additional preparation.
- Which old layers will be removed and which will remain.
- What the exposed floor needs before the new flooring is installed.
- The proposed panel product and its purpose, if plywood is included.
- How the new finished height will meet door jambs and adjoining rooms.
- Any stair, threshold, door, or trim work included in the plan.
- How hidden damage or unexpected preparation will be priced and approved.
- Who handles removal, haul away, and the next stage of installation.
Separating these items helps you compare proposals fairly. A quote that includes rebuilding the floor assembly has a different scope from one that covers finish flooring alone. The difference should be explained before it appears as a surprise on installation day.
Review flooring removal and disposal when you discuss the job. Tile removal, debris handling, substrate evaluation, and new installation are connected steps. Knowing who owns each step makes the schedule clearer.
Common questions about plywood after tile removal
Does every tile-removal project need plywood?
No. The exposed substrate, its condition, the chosen flooring, and the finished-height plan determine the next step. Some projects need a panel layer. Others need different preparation or repair.
Does a 3/4-inch jamb gap mean I need 3/4-inch plywood?
No. The new finish flooring and any other required layers also add height. The Homewood description gives the approximate gap, not the panel thickness. Have the installer plan the complete assembly before choosing materials.
Is plywood underlayment the same as the structural subfloor?
No. They can serve different roles within the assembly. Ask the contractor to identify which layer is being added, what supports it, and what problem it addresses.
Can the new flooring hide damage left by tile removal?
The exposed floor needs to meet the requirements for the new flooring before it is covered. Damage, movement, and unsuitable surface conditions should be evaluated first. A new finish layer is not a substitute for that preparation.
What should I photograph before the estimate?
Photograph the existing floor, each doorway, adjoining surfaces, and nearby stairs. Include any visible gaps or known problem areas. The contractor can then identify which details need closer inspection after removal.
If you are replacing tile in Homewood, Mokena, or Will County, request a free estimate from The Floor 4U. Ask Matt Pehr and the team to review the removal, preparation, and finished-height plan as one project.
Share
Recent Posts
October 22, 2026
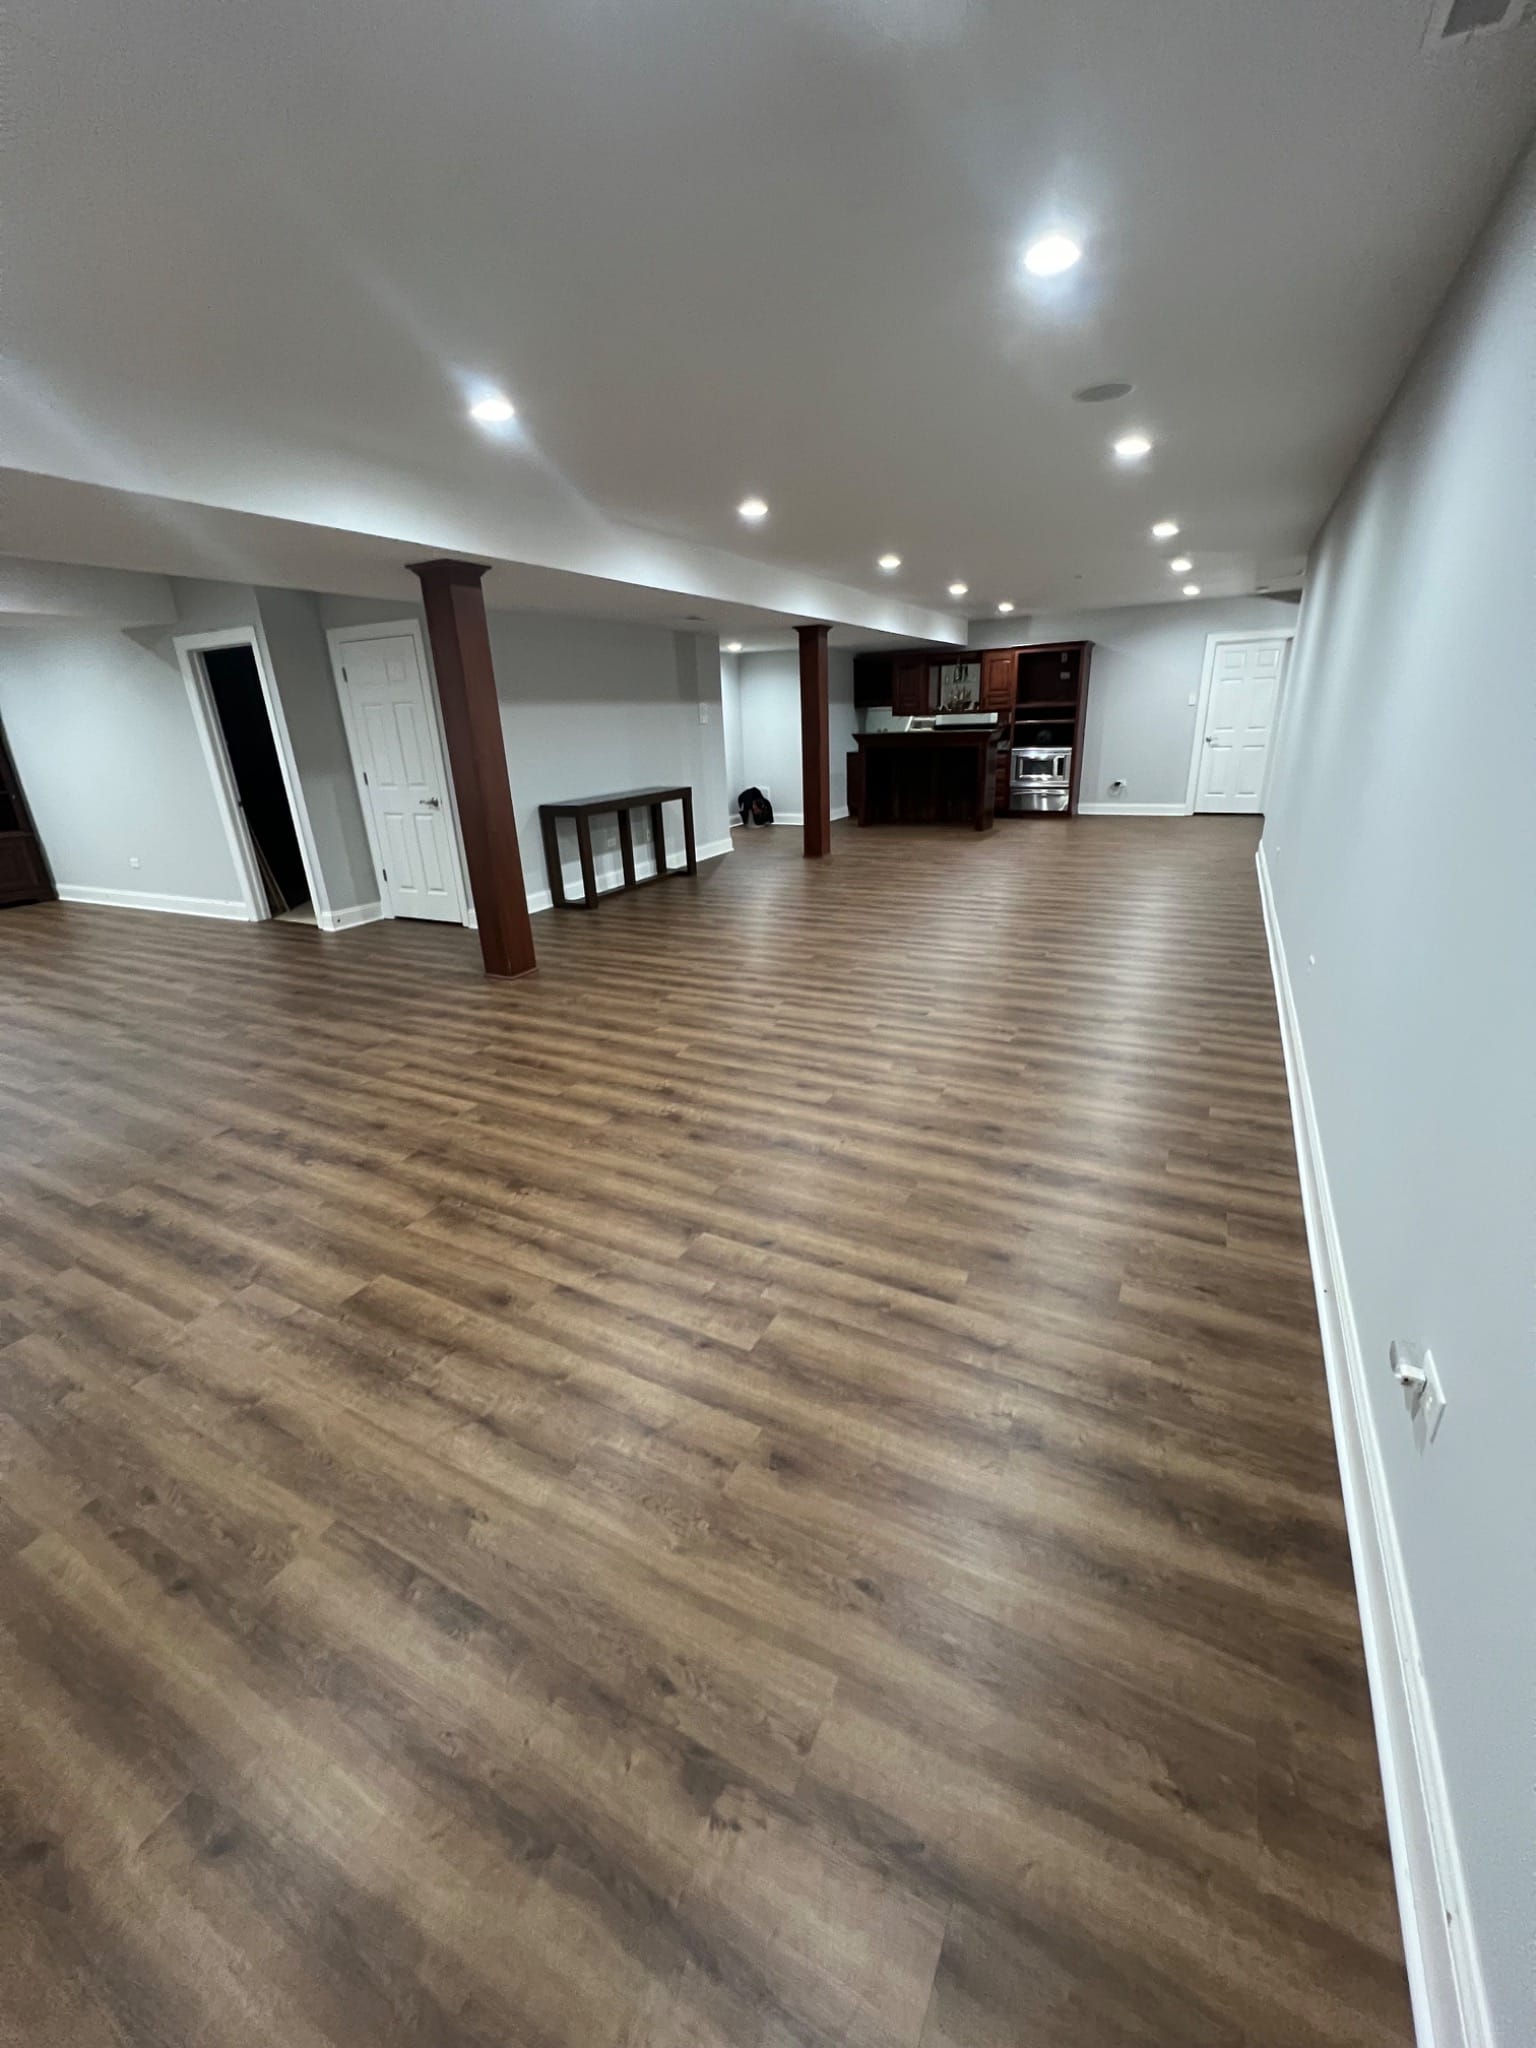
How to Choose Light Vinyl Plank Flooring for a Basement
Compare light vinyl plank samples under basement lighting, then check color, transitions, subfloor conditions, and the selected product’s installation guide....
October 22, 2026
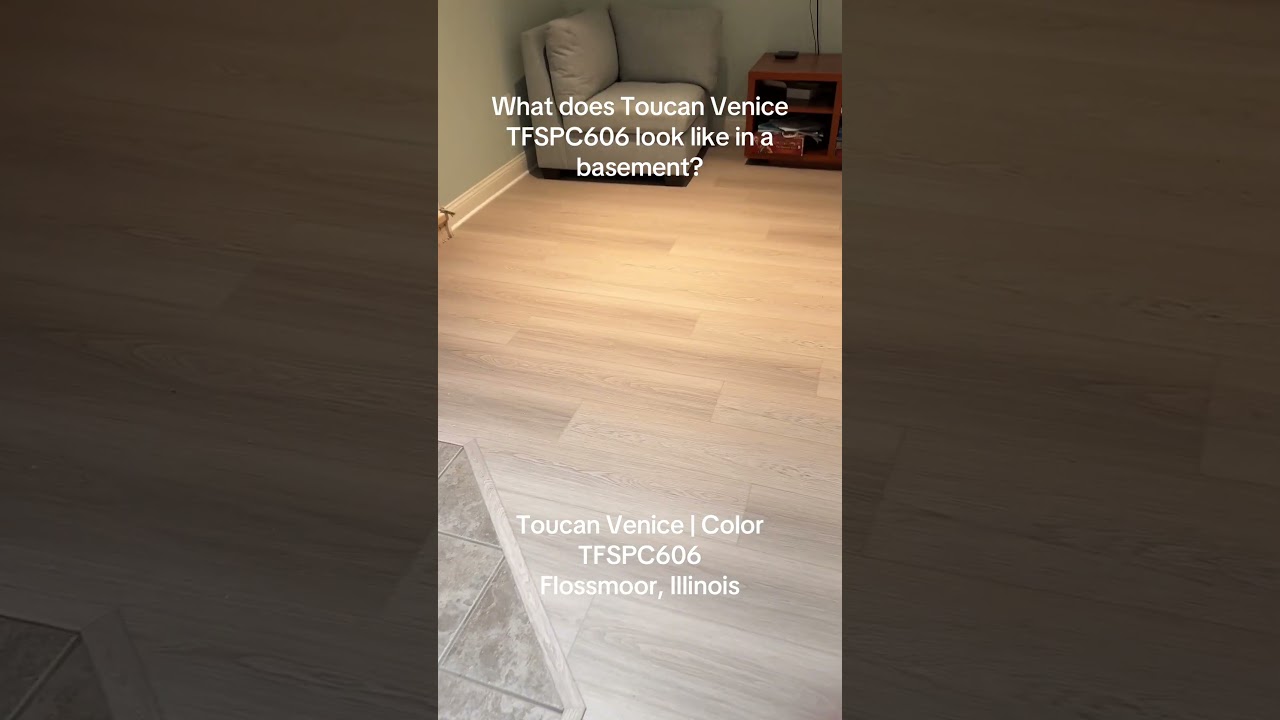
Toucan Venice TFSPC606 Basement Flooring in Flossmoor
Watch a finished Flossmoor basement floor featuring Toucan Venice color TFSPC606, installed by The Floor 4U....
October 22, 2026
Pine-Look Vinyl Plank Flooring: How to Choose the Right Look
Compare pine-look vinyl plank samples, grain variation, room finishes, and installation details using a completed Homewood project as a reference....