(708) 775-3648

Can You Install LVP Over Tile? When to Float Over It and When to Tear It Out
Matt Pehr
August 13, 2026
Request An Estimate
Short answer: usually yes. Luxury vinyl plank can be installed over an existing ceramic tile, porcelain tile, or vinyl floor without tearing the old floor out first, and for a lot of homes that is the better job. Tile demolition is the dirtiest, slowest, most disruptive part of a flooring project, and skipping it when you can skip it saves you real time and real money. The question is never really can it be done. It is whether your particular floor passes four tests, and if it does not, which one it fails and what that costs to fix.
For the quick answer, watch Matt Pehr explain when flooring can go over existing tile. His 54-second video covers tile lippage, appliance clearance, and door swing. This guide goes deeper on whether luxury vinyl plank can go over your existing tile.
Wondering whether your tile can stay? Call (708) 775-3648 or request a free in-home estimate. We measure the floor, check it for flatness and sound tile, and tell you honestly whether it needs to come out. We have showrooms in Mokena and in Frankfort; the Frankfort showroom is (708) 995-5507.
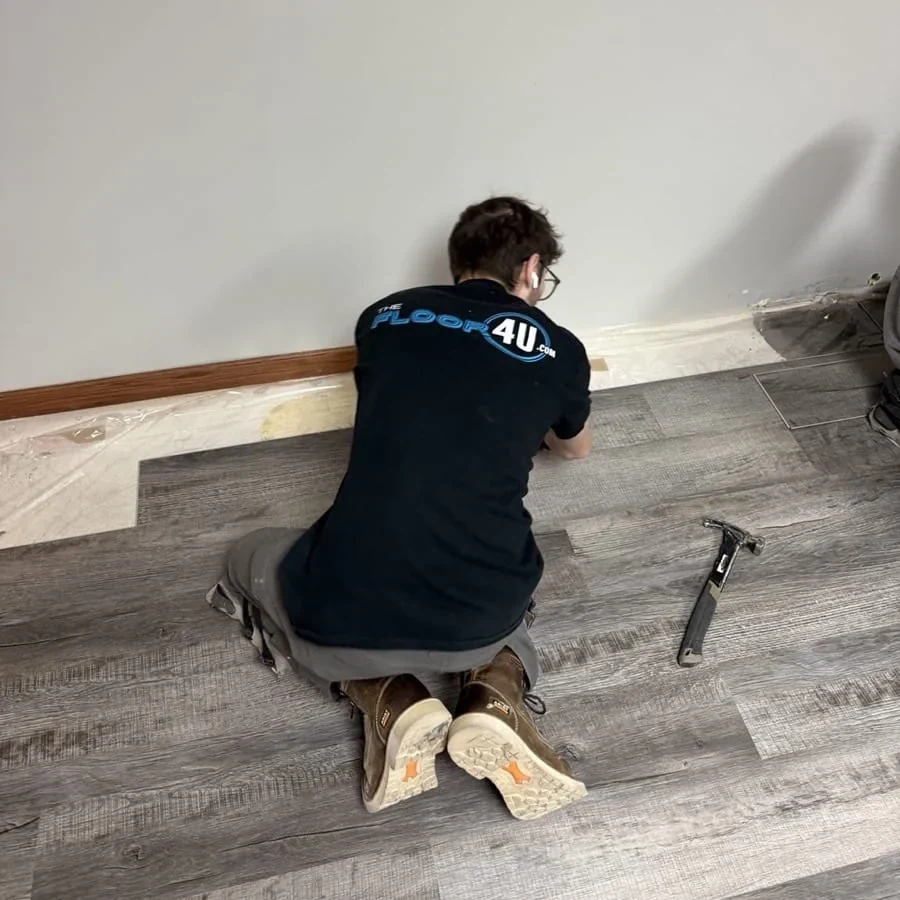
The Four Tests an Existing Floor Has to Pass
Every over-tile decision we make on a job site comes down to the same four questions, in this order. A floor that passes all four is a straightforward float. A floor that fails one usually has a fix. A floor that fails the fourth one is the one that surprises people, because nothing is wrong with the old floor at all.
- Is it sound? Nothing loose, hollow, cracked, or lifting.
- Is it flat enough? Within the plank manufacturer’s tolerance, with grout joints narrow enough not to telegraph.
- How many layers are already down? One existing resilient layer is usually workable. Two is usually not.
- Where does the added height go? Doors, appliances, stairs, vents, and the transition into the next room.
Moisture is the fifth thing we look at, but it is a question about what the old floor is sitting on rather than about the old floor itself, so it gets its own section below.
Test 1: Is the Existing Floor Sound and Well Bonded?
A floating floor does not fix a failing floor underneath it. It hides one, briefly, and then follows it. If a tile is loose today, it is still loose under the new plank, and the movement works its way up as clicking, flexing, and eventually separated seams.
The test is unglamorous: tap across the floor and listen. A well bonded tile sounds solid and dull. A tile with a void under it rings hollow. A handful of hollow tiles can be re-bonded or cut out and patched. A floor where a quarter of the field sounds hollow is telling you the original installation is failing, and that floor comes out. Cracked tiles matter for the same reason, though a hairline crack in an otherwise well bonded tile is usually cosmetic and can stay.
There is a second kind of unsound that has nothing to do with the tile. If the floor flexes or bounces when you walk it, that is subfloor or joist deflection, and it is the one problem that adding a floating floor on top genuinely cannot help. Tile is brittle, so a deflecting floor usually announces itself through cracked grout lines and cracked tiles in a repeating pattern. That is a floor repair conversation before it is a new-flooring conversation, and it happens from below, not from above.
Test 2: Is It Flat Enough, and Will the Grout Lines Telegraph?
Flatness is not the same thing as level. A floor can slope gently across a room and still be perfectly flat, and rigid-core LVP is fine with that. What it is not fine with is local unevenness: humps, dips, and lippage between adjacent tiles. Flatness is the specification that actually appears in the installation instructions.
COREtec’s installation guide, to use a line we carry, calls for the substrate to be flat within 3/16 inch over 10 feet, or 1/8 inch over 6 feet. That is the number a straightedge and a tape measure will tell you in about ten minutes. Tolerances differ between products and between manufacturers, so the specification that governs your job is the one printed in the installation guide for the exact product you buy.
Grout lines are the flatness problem specific to going over tile. A grout joint is a long recessed channel, and a plank bridging it has nothing to bear on. COREtec’s guidance allows installation over existing ceramic and porcelain tile with grout joints up to 1/4 inch wide. Wider than that, or deeply recessed below the face of the tile, and the joints get filled flush with a cementitious, latex-fortified patching compound before anything goes down. That filling step is the single most skipped part of an over-tile install, and it is why some over-tile floors show a faint grid under raking light a year later.
Tile format changes the math. Older 4 x 4 and 6 x 6 field tile means a lot of joints in a small area. Large-format tile, the 12 x 24 and 24 x 24 you see in newer kitchens and baths, has far fewer joints but a greater tendency toward lippage at the edges, because a long tile has more room to sit proud of its neighbor. Beveled or cushioned-edge tile is its own case, since the bevel creates a recess at every joint even when the grout is flush.
The product matters as much as the prep. A thin glue-down vinyl plank conforms to whatever is under it, so it telegraphs grout lines readily. A thick rigid-core plank with a stone-plastic composite core bridges a joint far better. If you are floating over tile with visible grout channels, the core type is not a style preference, it is part of the structural answer. Our LVP brand comparison goes through the core constructions in more detail.
Test 3: How Many Layers Are Already Down There?
This is the test that quietly disqualifies the most floors. COREtec’s installation instructions are direct about it: vinyl floors consisting of two or more layers must be removed before installation. The reason is cumulative movement. Every layer adds a little compressibility and a little independent shift, and a click-together floating floor relies on its own locking joints staying in one plane.
Kitchens, laundry rooms, and half baths in houses built before the 1990s are where you find stacked layers, because sheet vinyl was routinely laid straight over the previous resilient floor rather than pulled up. You often cannot see it from the middle of the room. Pull a floor register, look at the cut edge at a threshold, or lift a corner behind an appliance, and the stack is visible in section.
Cushioned or felt-backed sheet vinyl fails this test even as a single layer. A soft substrate compromises the locking mechanism of a floating floor, so cushioned vinyl comes up regardless of how many layers are under it. Hard, fully adhered sheet vinyl is a different case and is often a perfectly good substrate on its own.
Wood is its own case rather than another resilient layer, and our guide to going over an existing hardwood floor covers the flatness, moisture, and fastening tests that decide whether the boards stay or come up.
Test 4: Where Does the New Height Go? Doors, Appliances, and Stairs
This is the test people skip, and it is the one that turns a simple job into a complicated one. Nothing is wrong with the old floor. The problem is that the finished floor is now higher than it was, and a house has a lot of fixed elements sitting at the old height.
- Interior doors and jambs. Jambs get undercut so plank runs beneath them rather than being scribed around them. Doors themselves may need trimming, and a door with little clearance to begin with may not have enough left to trim.
- Exterior doors and sliders. These are the hard stop. You generally cannot undercut an exterior threshold, and a patio slider that no longer clears the floor is an expensive surprise.
- Dishwashers. The classic one. A dishwasher slides into a cavity under the countertop with a fixed opening height. Raise the floor under it and the machine can end up trapped, unable to come out for service without cutting the new floor. This gets planned before the floor goes in, not discovered later.
- Refrigerators and ranges in cabinet cutouts. Same problem, less common, still worth measuring.
- Toilets. Raising the floor changes the relationship between the flange and the finished surface, which affects how the toilet is reset and sealed.
- Floor registers and returns. Boots and grilles sit at the old height and need adapting or replacing.
- Stairs. Adding height to the floor at the top or bottom of a flight changes that riser and only that riser. The IRC limits how much risers in a flight may vary: the greatest may not exceed the smallest by more than 3/8 inch. A floor build-up can push a stair out of that tolerance and create a genuine trip hazard.
- Transitions into adjoining rooms. A joint that used to be flush against hardwood or carpet now needs a reducer or a transition strip, which is a visible design decision as much as a technical one.
None of these is a reason not to install over tile. All of them are reasons to have the height measured and walked through room by room before anyone orders material. When we decide a tile floor has to come out, this test is the reason more often than flatness or soundness.
Moisture: What the Old Floor Is Sitting On Matters More Than the Old Floor
Tile is not a vapor barrier. A ceramic floor over a slab-on-grade or a basement slab does very little to stop moisture vapor moving up through the concrete, and the grout joints are open paths. If the slab has a moisture problem, covering it with tile did not solve it and covering the tile with vinyl plank will not either.
COREtec’s instructions require moisture testing over concrete, with limits of 8 pounds by the ASTM F1869 calcium chloride test and 90 percent relative humidity by the ASTM F2170 in-situ probe method. The practical complication over an existing tile floor is that you cannot run those tests through the tile without coring it. So on an over-tile job the slab history carries a lot of weight: efflorescence at the perimeter, a previous adhesive failure, a musty smell, seasonal dampness, or a tile floor that was itself installed to solve a moisture complaint. Any of those, and the honest answer may be that the tile has to come up so the slab can be tested and treated.
Basements are the common case here, and they have their own answer. We cover that in waterproof LVP over a basement slab. If there is radiant heat under the tile, see LVP over radiant heat, because a heated slab adds a temperature ceiling and an underlayment requirement on top of everything on this page.
Older Resilient Tile: What to Know Before Anything Is Disturbed
If the existing floor is small resilient tile of a certain age, commonly 9 x 9 inches and sometimes 12 x 12, this is worth raising before any work is planned. Resilient tile and the adhesive under it from that era may contain asbestos. The general understanding is that intact, undisturbed material is not the hazard; disturbing it is, which means breaking, sanding, grinding, or scraping it up.
Determining what a floor actually contains is done by a certified professional, who takes the sample and has it analyzed. It is not something to establish by eye, by age, or by chipping a piece off to look at. The Floor 4U does not test for, handle, encapsulate, abate, or remove asbestos. If a floor of that age needs to come out, that is work for a licensed abatement contractor, and that conversation belongs before anything is disturbed, not after.
The reason it belongs on this page is that it changes the calculus in one specific direction. Leaving a sound old floor in place and floating a new floor over it is exactly the approach that avoids disturbance, and it is one of the situations where installing over the existing surface can be the right answer rather than merely the cheaper one. Whether it works still depends on the same four tests as any other substrate. If you do not know what is on your floor, tell us when you call and we will plan the conversation around it rather than around a guess.
What Leaving the Old Floor Down Actually Changes on Your Quote
Removing a tile floor is a real line item, not a rounding error. It is hours of labor with a chipping hammer, dust containment, hauling heavy debris out of the house, disposal, appliance and toilet disconnection and reset, and usually an extra day or two on site. It also carries an open question: until the tile is up, nobody knows what the subfloor under it looks like, and a damaged or delaminated subfloor discovered mid-demolition is priced after the fact.
Floating over the old floor trades that for a prep line item instead: cleaning and abrading the surface, re-bonding or replacing loose tile, filling grout joints, patching low spots, undercutting jambs, trimming doors, and adding transitions. On a sound, flat, single-layer floor that prep is a small fraction of what demolition would have cost, which is why over-tile installs are worth asking about.
It is not automatically the cheaper path, though, and it is worth saying so plainly. A tile floor with wide recessed grout joints, significant lippage, a dozen doors to undercut, and a dishwasher that has to be dealt with can run up enough prep to close most of the gap. That is the comparison your written estimate should make explicit, with prep on one line and demolition and disposal on another, so you can see which way your floor actually goes instead of being told which one is cheaper.
Warranty coverage varies by product and manufacturer; your written proposal will identify the coverage that applies.
What We See in Mokena and Will County Homes
The pattern around here is fairly consistent. Ceramic and porcelain field tile in kitchens, entries, and baths from the late 1990s through the 2000s is usually a good candidate: it was set on a solid subfloor, the joints are typically 1/4 inch or narrower, and the tile is still well bonded. Those floors mostly stay.
Newer large-format tile, the 12 x 24 porcelain in remodeled baths and kitchens, is usually sound but more likely to need lippage addressed at the edges. Basement tile over a slab is the case where the moisture question leads instead of the flatness question. And sheet vinyl in laundry rooms and half baths is one we end up removing, because it is either cushioned or it is the top of a stack.
None of that is a substitute for looking at your floor. It is just the distribution, and it is why we would rather measure than guess over the phone. For the installation side of the work itself, see our luxury vinyl flooring installation page, and for how long the finished floor should last, see how long LVP flooring lasts. If you would rather have vinyl in a tile shape than in planks, our guide to luxury vinyl tile installation explains how that floor goes in.
The Bottom Line
Most sound, flat, single-layer tile floors do not need to come out, and removing one that did not need to come out is money spent on dust. Get the four tests answered honestly before you decide: sound, flat, single layer, and enough room for the added height. If your floor passes, float over it. If it fails one, find out which one, because the fix for lippage is not the fix for a trapped dishwasher and neither is the fix for a wet slab.
Frequently Asked Questions
Reviewed by Matt Pehr, owner of The Floor 4U.
Can you install LVP over ceramic tile?
Yes, in most cases. Rigid-core luxury vinyl plank is designed to float over an existing hard surface, and ceramic or porcelain tile is one of the better substrates to float over because it is hard, stable, and already bonded. COREtec’s installation guidance allows installation over existing ceramic and porcelain tile with grout joints up to 1/4 inch wide. The tile still has to be sound, flat within the manufacturer’s tolerance, and low enough that the finished floor height does not create a problem at doorways and appliances.
Do you have to remove tile before installing vinyl plank?
Not usually. Removing sound, well bonded tile is often unnecessary work. Tile has to come out when it is loose, cracked, or hollow underneath, when the floor is too far out of flat to correct with patching, when the added height would trap an appliance or break a stair, or when there is already more than one layer of resilient flooring down. Those are the cases where demolition buys you something. Otherwise it mostly buys you dust, disposal, and days.
Will grout lines show through vinyl plank?
They can, and it is the most common complaint about a rushed over-tile install. COREtec’s guidance is that grout joints up to 1/4 inch wide can be covered as they are; anything wider, or any joint deeply recessed below the tile face, should be filled flush with a cementitious, latex-fortified patching compound first. Thin glue-down vinyl telegraphs a recessed joint much more readily than a thick rigid-core plank, so the product you choose changes how much prep the floor needs.
How much height does LVP over tile add?
Enough to matter. You are adding the plank thickness, plus any attached pad, plus whatever patching compound goes over the grout lines, on top of a tile floor that already sits above the subfloor. In practice that usually means undercutting door jambs, trimming or replacing interior doors, checking that a dishwasher can still be pulled out from under the countertop, and adding a transition where the new floor meets carpet or hardwood in the next room. Measure the height before you commit, not after the planks arrive.
Can you install LVP over two layers of flooring?
Generally no. COREtec’s installation instructions state that vinyl floors consisting of two or more layers must be removed before installation. Older kitchens and laundry rooms are where this can show up, because sheet vinyl was frequently laid straight over an earlier resilient floor rather than removed. Cushioned or soft-backed sheet vinyl is a problem on its own even as a single layer, because a soft substrate compromises the locking mechanism on a floating floor.
Can you install vinyl plank over old 9 x 9 tile?
Resilient tile of that era, commonly 9 x 9 inches, and the adhesive under it may contain asbestos. It is generally understood to be a hazard when it is disturbed, meaning broken, sanded, ground, or scraped up, rather than when it is left intact. Only a certified professional can determine what a floor actually contains, and sampling and testing is their work, not something to do yourself. The Floor 4U does not test for, handle, encapsulate, abate, or remove asbestos. If a floor of that age needs to come out, that is a job for a licensed abatement contractor and the conversation should happen before anything is disturbed. Leaving a sound floor undisturbed and floating a new one over it is one of the situations where installing over the existing surface can be the right approach, subject to the same four tests as any other substrate. If you are not sure what you have, say so when you call and we will plan around it.
Does installing over the old floor void the warranty?
Installing over an existing floor is a normal, manufacturer-anticipated method, and the published installation instructions for rigid-core products describe how to do it. What puts coverage at risk is ignoring those instructions: floating over a substrate that is out of flat, over a soft or cushioned floor, over more than one existing resilient layer, or over a slab that has not been moisture tested. Warranty coverage varies by product and manufacturer; your written proposal will identify the coverage that applies.
Can you install LVP over tile that has radiant heat under it?
Often yes, but the radiant system adds its own set of rules on top of the over-tile rules, mainly a maximum floor surface temperature and an underlayment that does not insulate the heat away. We cover that separately in LVP over radiant heat, which goes through temperature limits, hydronic versus electric systems, and acclimation.
Find Out Whether Your Tile Can Stay
We will measure the floor, tap it for hollow tile, check it against a straightedge, work out the finished height at every door and appliance, and tell you which way your floor goes. If the tile can stay, we will say so. If it has to come out, you will know why before you see a number. Call (708) 775-3648 or request your free in-home estimate. Our installation team works throughout Mokena, Frankfort, New Lenox, Homer Glen, Orland Park, Tinley Park, Lockport, and Joliet.
Share
Recent Posts
October 22, 2026
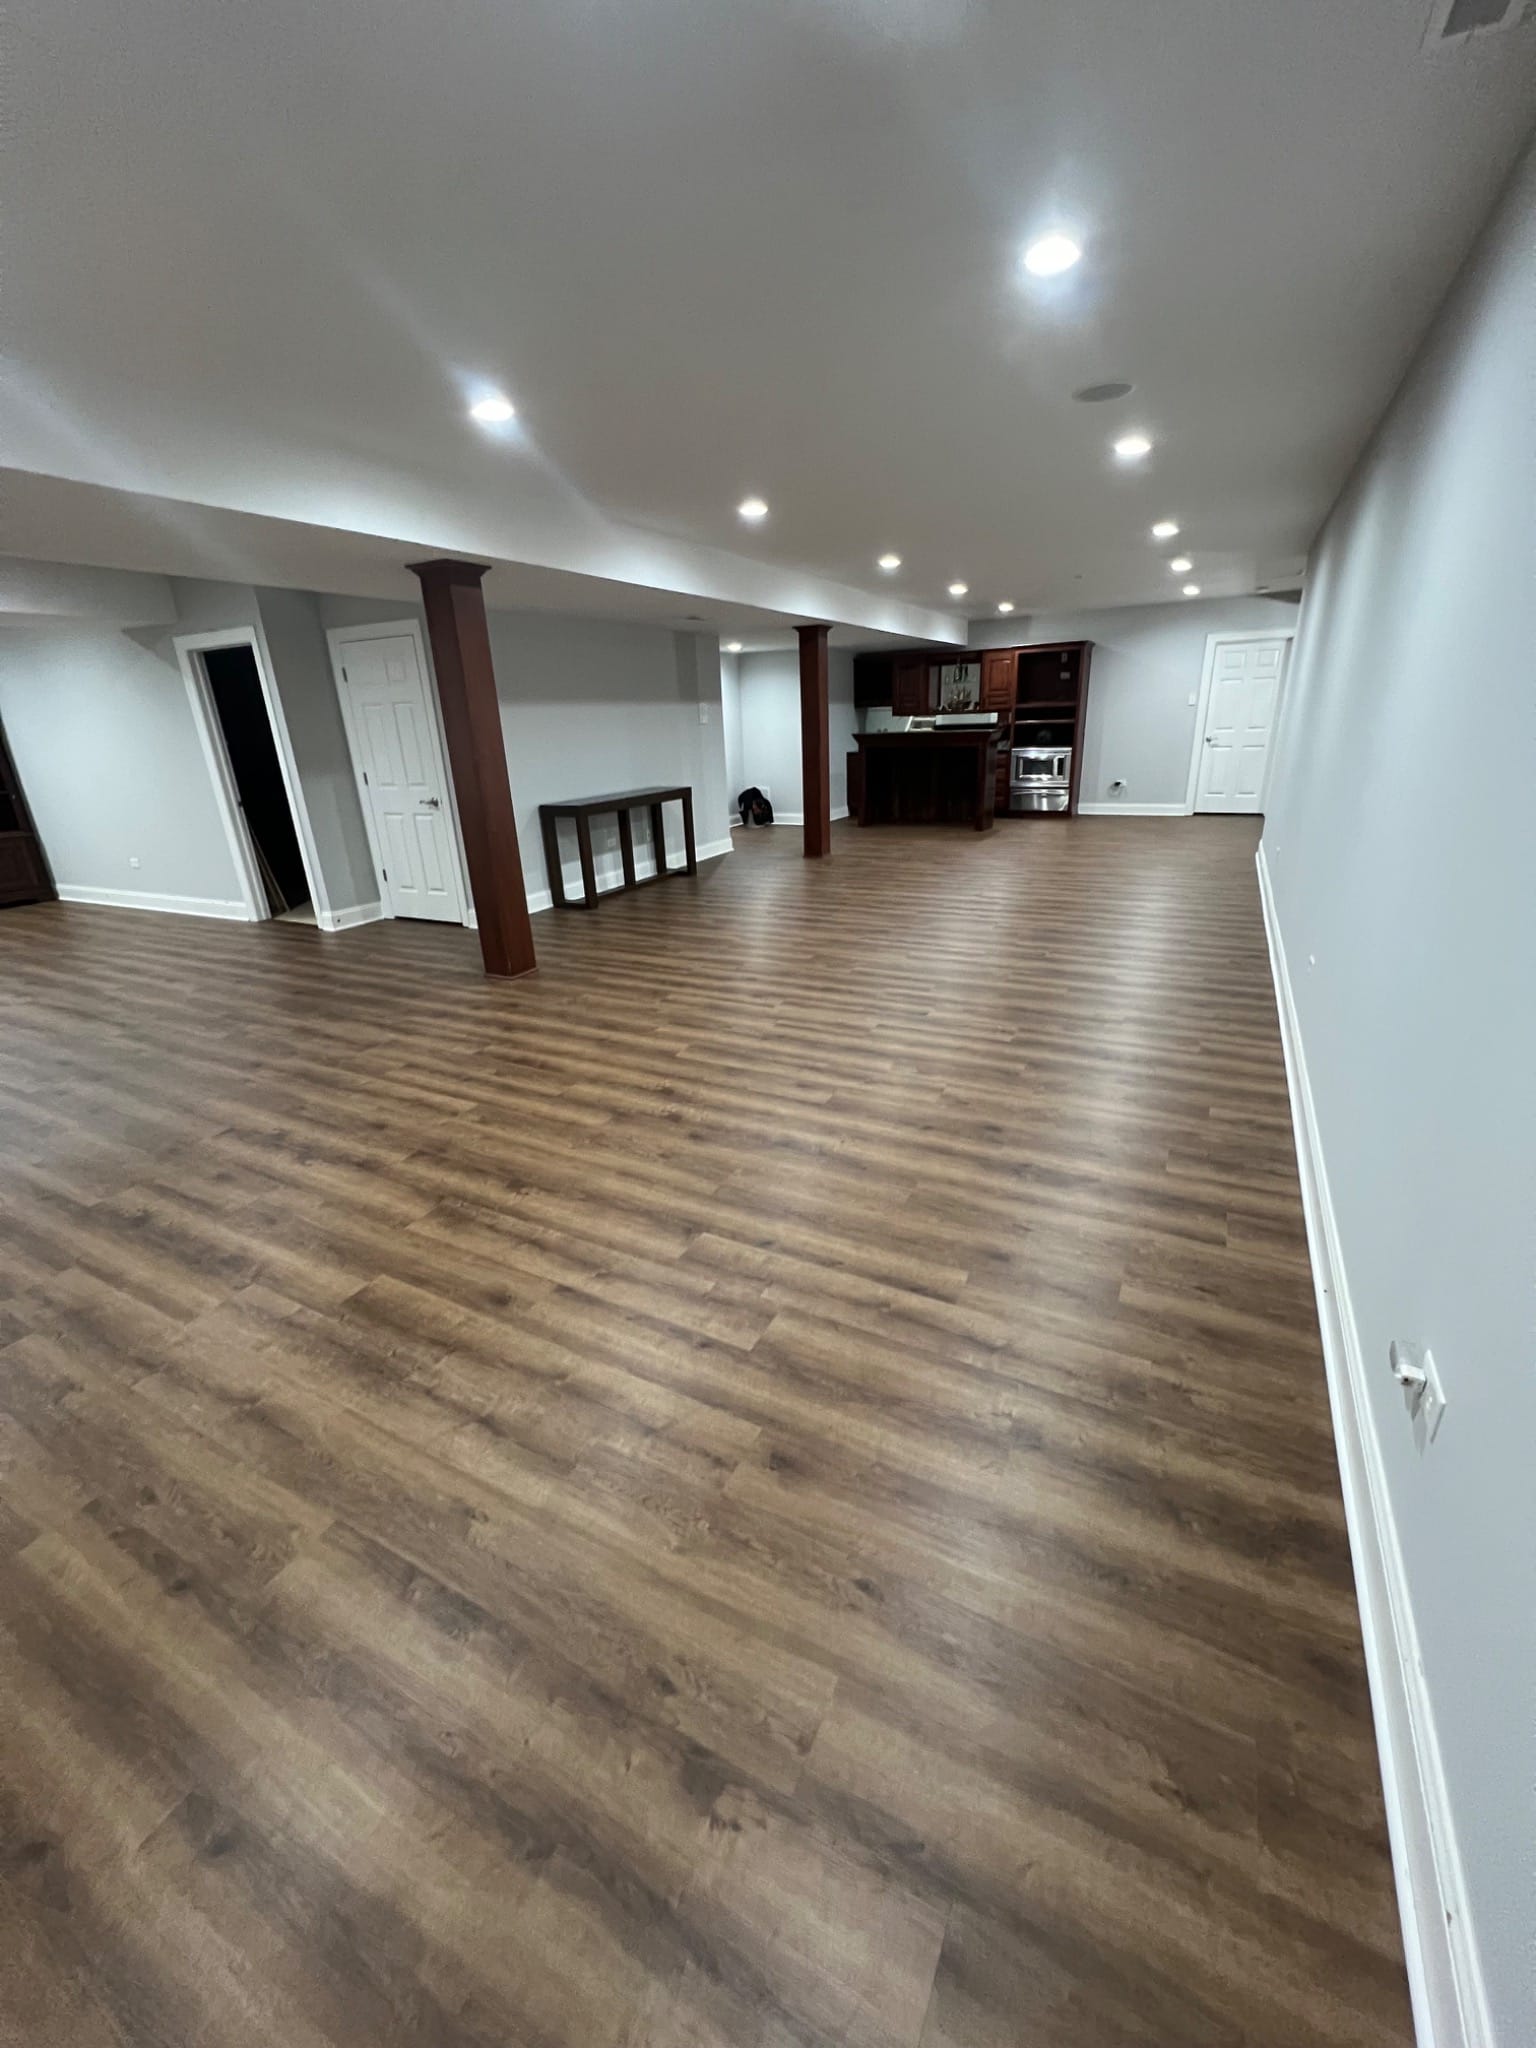
How to Choose Light Vinyl Plank Flooring for a Basement
Compare light vinyl plank samples under basement lighting, then check color, transitions, subfloor conditions, and the selected product’s installation guide....
October 22, 2026
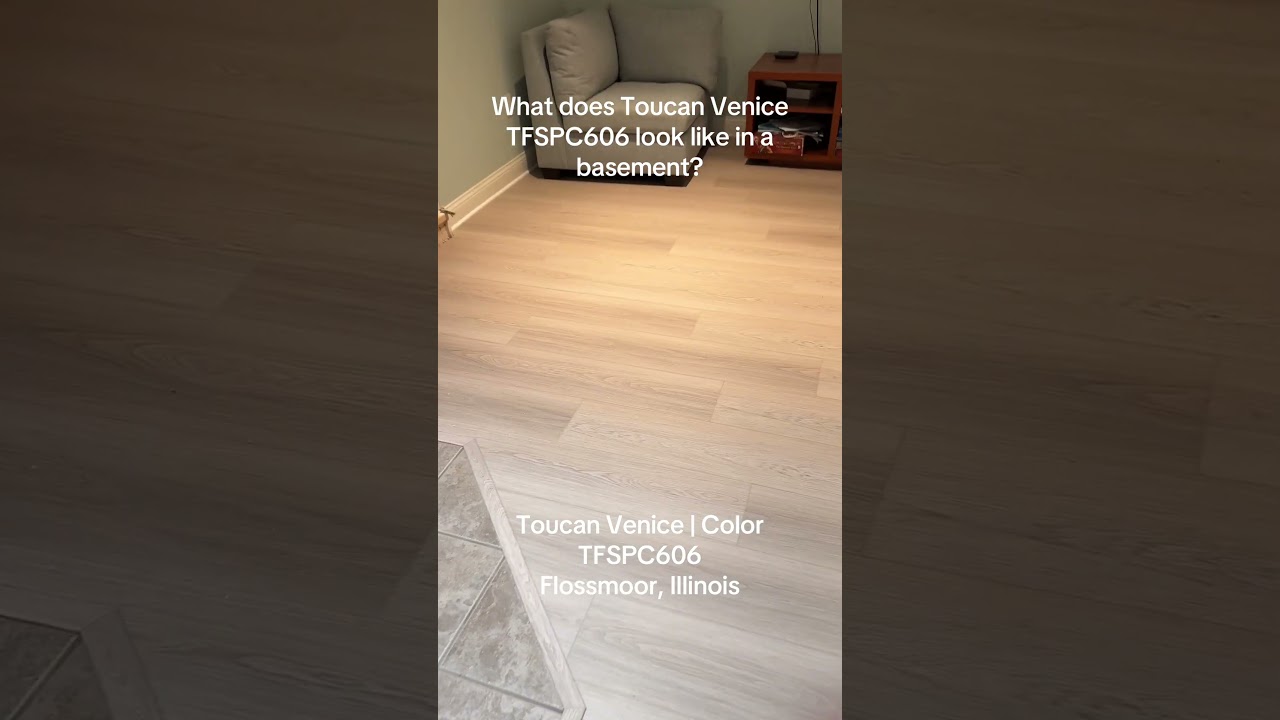
Toucan Venice TFSPC606 Basement Flooring in Flossmoor
Watch a finished Flossmoor basement floor featuring Toucan Venice color TFSPC606, installed by The Floor 4U....
October 22, 2026
Pine-Look Vinyl Plank Flooring: How to Choose the Right Look
Compare pine-look vinyl plank samples, grain variation, room finishes, and installation details using a completed Homewood project as a reference....